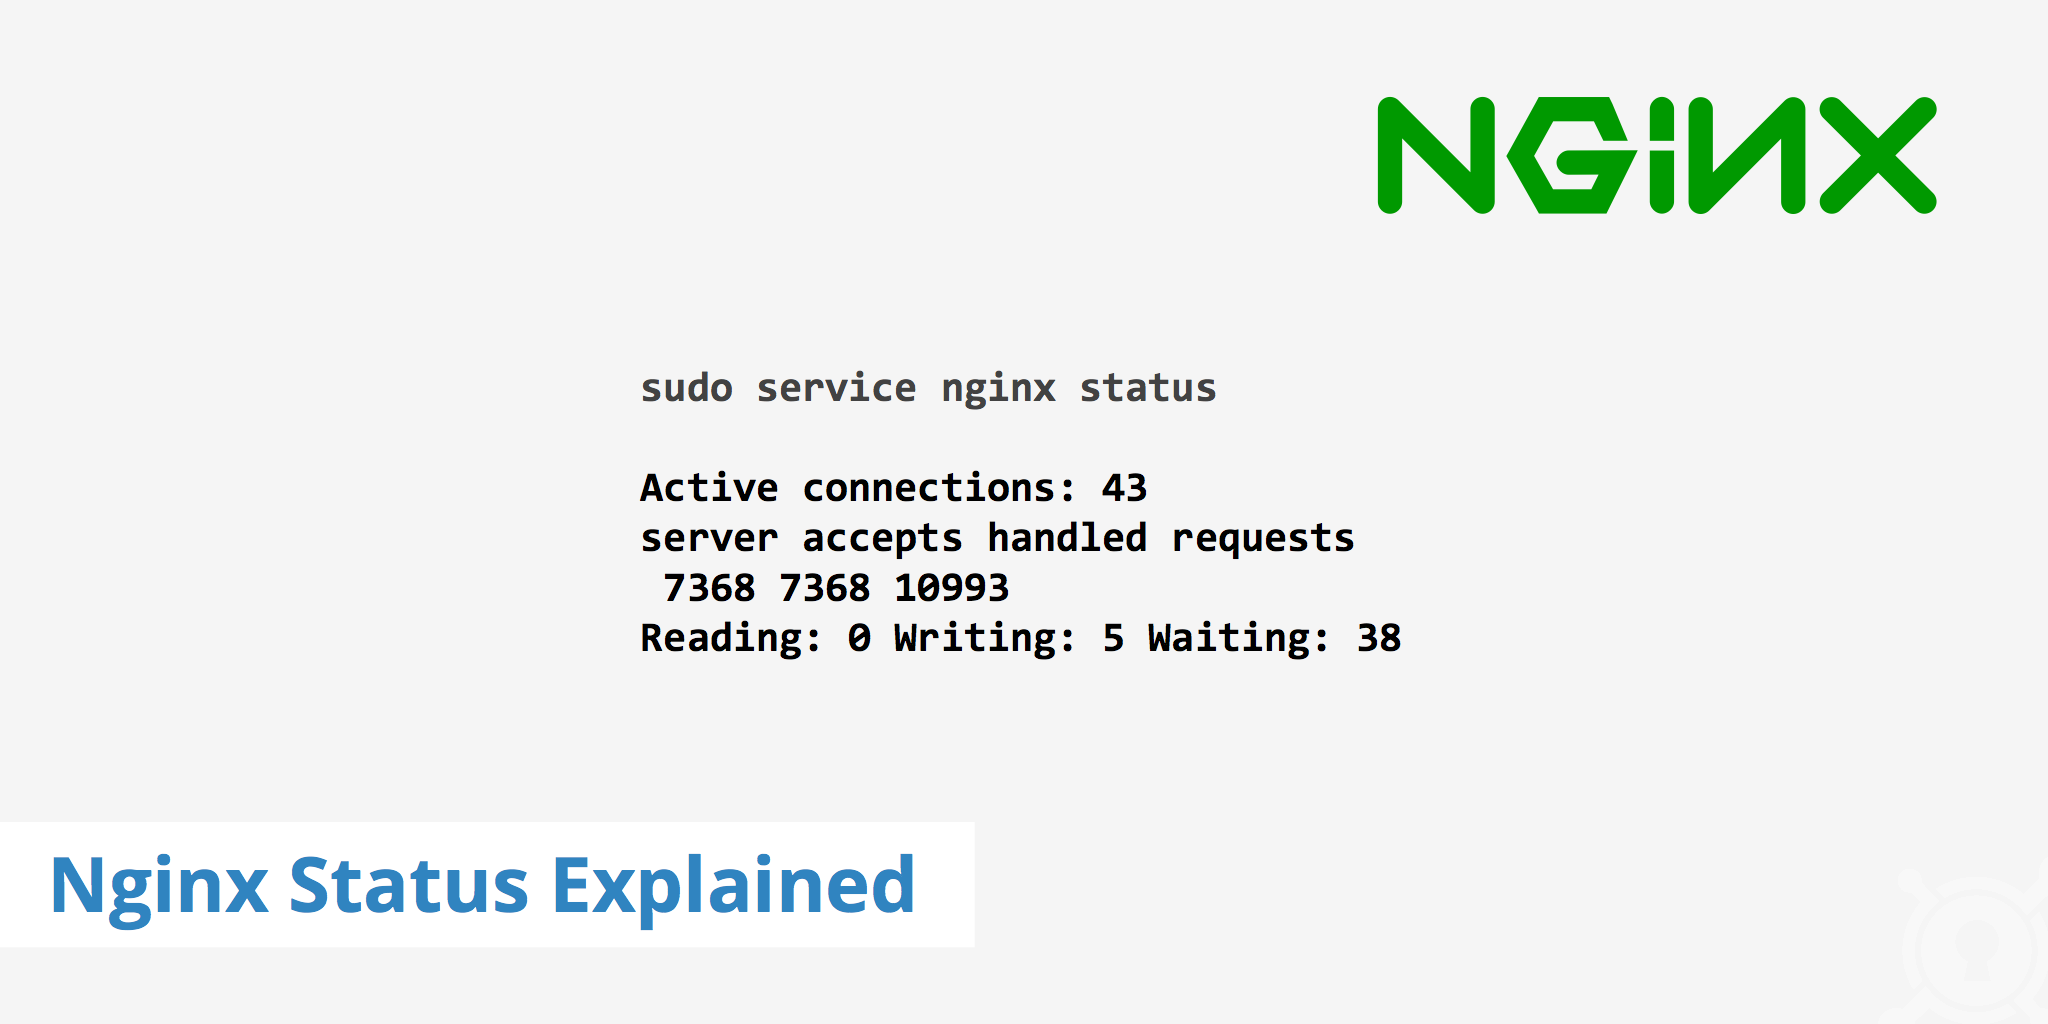
Nginx Status Explained

This article explains the process used to check the current status of your Nginx server as well as how to use the ngx_http_stub_status_module to gain more insight about your web server. Having the information provided by the Nginx status page can be useful to help determine information pertaining to the number of requests your server is currently receiving, the amount of active connections, etc.
Nginx - Starting, stopping, and restarting
Checking the Nginx status on the command line shows if the web server is currently running. On any Debian/RHEL/Ubuntu/CentOS Linux the following command can be used (sudo is not required if the user has root permissions):
# sudo service nginx status
If your Nginx server is currently running, the above command will return * nginx is running and * nginx is not running otherwise.
Similar commands can also be used to start, stop, or restart the server.
sudo service nginx stop
sudo service nginx start
sudo service nginx restart
Configuring the Nginx status page
Nginx offers a convenient way to check the server status with the module ngx_http_stub_status_module. With this module, you'll be able to view important information pertaining to your Nginx server on a status page.
Most modern versions of Nginx have this module already compiled, there is no need to compile it manually. You can check if the module is already compiled by using this command:
nginx -V
If -with-http_stub_status_module appears within the configure arguments, then everything is working correctly. If you do not see this module upon running the above command, you may use the -with-http_stub_status_module configuration parameter when building Nginx from source.
As a next step, the Nginx config needs to be prepared. Go to the folder where your Nginx config is located and open the file with an editor (e.g. VI).
vi nginx.conf
The following code should go inside the server block as shown.
server {
    listen 80 default_server;
    # Define the document root of the server e.g /var/www/html
    root /var/www/html;

    location /nginx_status {
        # Enable Nginx stats
        stub_status on;
        # Only allow access from your IP e.g 1.1.1.1 or localhost #
        allow 127.0.0.1;
        allow 1.1.1.1
        # Other request should be denied
        deny all;
    }
}
The above code turns the status page on while also restricting access to it based on the defined allowed IP addresses. After the new config is saved, a reload of Nginx is required in order to get the Nginx status. Reload Nginx with the following command.
service nginx reload
Reading the Nginx status page
Once you have completed the above section, you now have access to view the Nginx status page. To view the status page you now have two options.
In a browser, navigate to your website URL
/nginx_status(e.g.https://www.example.com/nginx_status)Alternatively, you may use curl to retrieve the same information.
curl https://example.com/nginx_status
The output of Nginx status will look similar to this:
Active connections: 43
server accepts handled requests
7368 7368 10993
Reading: 0 Writing: 5 Waiting: 38
Explanation:
- Active connections - Open connections in total. One user can have several concurrent connections to a server.
- Three figures are shown:
- All accepted connections.
- All handled connections, which normally equals to the total number of accepted connections.
- Total number of handled requests.
- Reading: Nginx reads request headers
- Writing: Nginx reads request bodies, processes requests, or writes responses to a client
- Waiting:
Keep-Aliveconnections. This number depends on thekeepalive_timeout.
With this module, you can now better monitor your Nginx status to get a clearer picture of your server's connection/request stats.